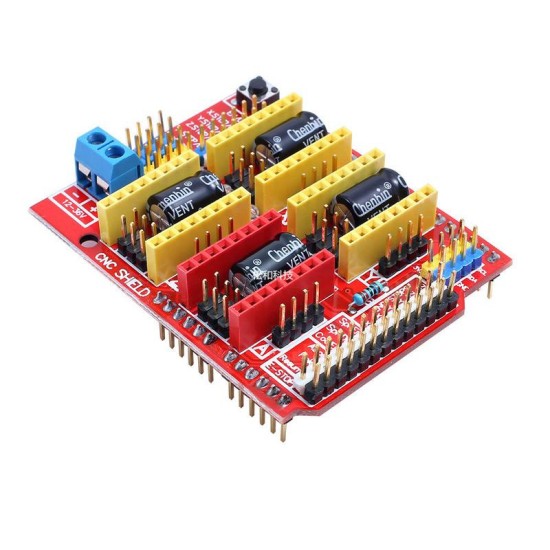
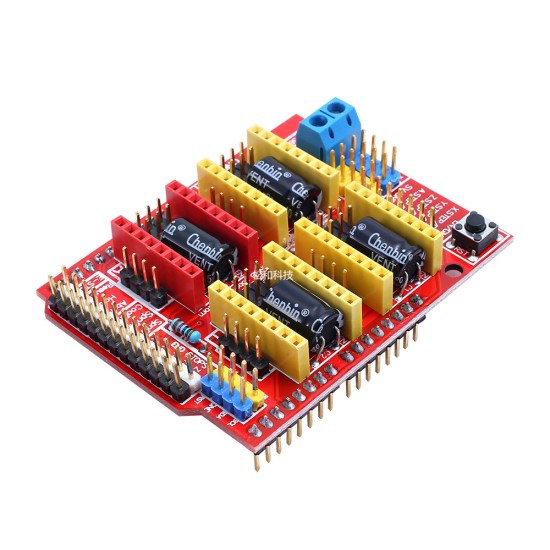
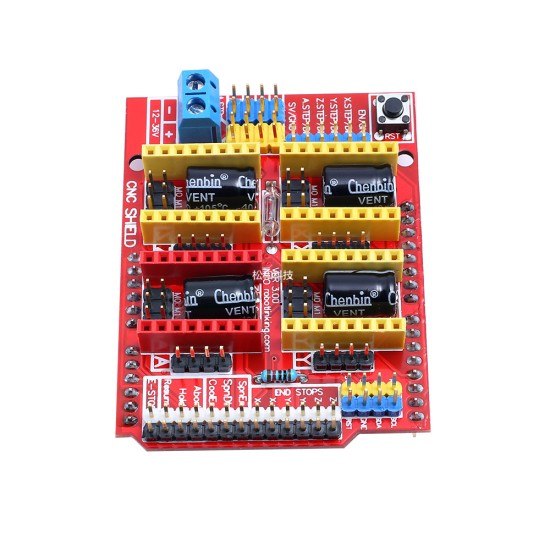
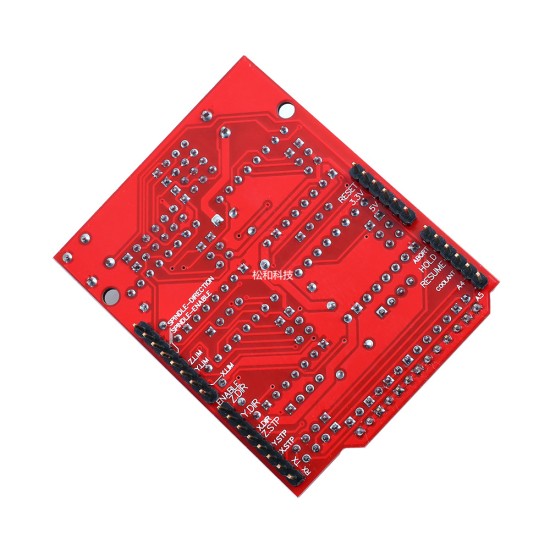


New product CNC Shield V3 carving machine expansion board 3D printer A4988 driver board
1. Product introduction
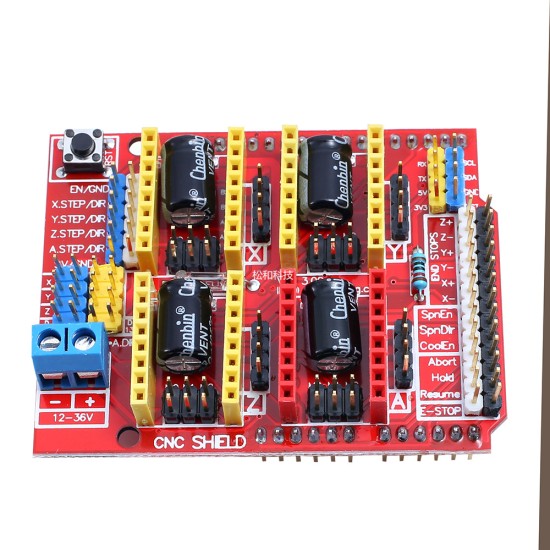
This extended board can be used as a carved machine, a 3D printer, and other drivers. There are a total of 4 -step motor driving modules of the motor drive module.You can drive the 4th road without entering the motor, and each step is only required to enter the motor, which means that the 6 IO ports can manage 3 step into the motor well.Traditional step motor operations are cumbersome.
2. Introduction to the correspondence between UNO and module IO port
The basic control required pins of the stepping motor, other pins are used only when carved machines, or 3D printers. We do not make detailed explanations here. IO corresponds to the figure above.
Arduino Uno ------------------------------------------------------------------------------------------------------
8 ------------------------ EN (步进电机驱动使能端,低电平有效)
7 ------------------------------- Z.DIR (direction control of a axis)
6 --------------------------- y.dir (direction control of a axis)
5 ----------------------- X.DIR(X轴的方向控制)
4 -------------------------- Z.Step
3 ---------------------- Y.STEP(Y轴的步进控制)
2 ---------------------- X.STEP(X轴的步进控制)
// The following is a simple step motor control program,
#Define EN 8 // Stepping motor to enable, low level is effective
#Define X_DIR 5 // X -axis step motor direction control
#Define Y_DIR 6 // Y -axis step motor direction control
#Define Z_DIR 7 // Z -axis step motor direction control
#Define x_Stp 2 // X -axis step control
#Define y_stp 3 // y -axis step control
#Define Z_Stp 4 // Z axis step control
/*
// Function: STEP function: Control the direction of the motor, the number of steps.
// Parameters: DIR direction control, DIRPIN corresponds to the DIR pin of the motor, Stepperpin corresponds
// No return value
*/
void Step (Boolean Dir, byte Dirpin, byte Stepperpin, Int Steps)
{{
digitalWrite (Dirpin, DIR);
delay (50);
for (int i = 0; i
DigitalWrite (Stepperpin, High);
delaymicroseconds (800);
digitalWrite (Stepperpin, LOW);
delaymicroseconds (800);
}
}
void setup () {// Set the IO pipe foot used by the step motor to output to output
pinmode (x_dir, output); Pinmode (x_stp, output);
pinmode (y_dir, output); Pinmode (y_stp, output);
pinmode (z_dir, output); Pinmode (z_stp, output);
pinmode (en, output);
digitalWrite (en, low);
}
void loop () {
Step (FALSE, X_DIR, X_STP, 200); // X -axis motor reverse 1 lap, 200 steps in a circle
Step (FALSE, Y_DIR, Y_STP, 200); // Y -axis motor reverse 1 lap, 200 steps in a circle
Step (FALSE, Z_DIR, Z_STP, 200); // Z -axis motor reverse 1 lap, 200 steps in a circle
delay (1000);
Step (true, x_dir, x_stp, 200); // X -axis motor is rotating for 1 lap, 200 steps are a lap
Step (true, y_dir, y_stp, 200); // Y -axis motor is rotating for 1 lap, 200 steps are a lap
Step (true, Z_DIR, Z_STP, 200); // z -axis motor is rotating for 1 lap, 200 steps are a lap
delay (1000);
}
Experimental phenomenon: The stepper motor reverses a circle, pause for 1 second, and then a circle, so cycle.
It is worth noting that when inserting the A4988 module, be careful not to insert it. The step of the step motor is:
2A, 2B are a group (red, green), 1A, 1B is a group (blue, yellow) to change the direction and change the position of one of the groups, such as 2A, exchange with 2B.
| Product Attributes | |
| Brand | Other/Other |
| Model | CNC Shield V3 Evanors Extension |
Unlimited Blocks, Tabs or Accordions with any HTML content can be assigned to any individual product or to certain groups of products, like entire categories, brands, products with specific options, attributes, price range, etc. You can indicate any criteria via the advanced product assignment mechanism and only those products matching your criteria will display the modules.
Also, any module can be selectively activated per device (desktop/tablet/phone), customer login status and other criteria. Imagine the possibilities.
$1.12
Price in reward points: 1
- Stock: In Stock
- Model: ULWB1682
- Weight: 0.02kg


