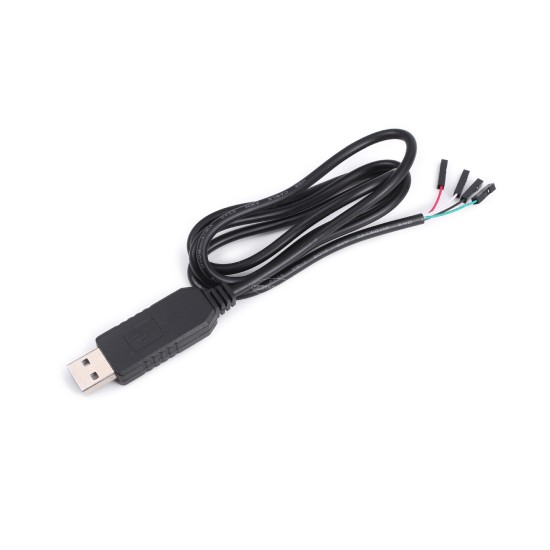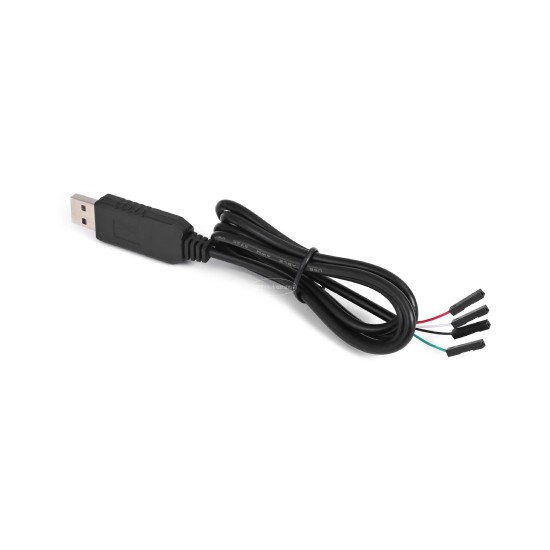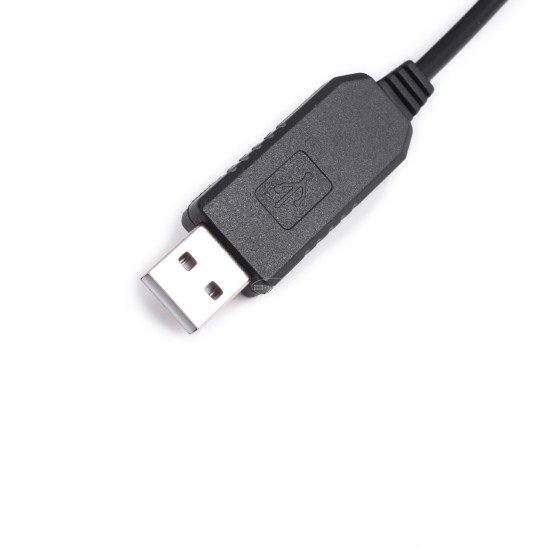


PL2303HX USB to TTL RS232 module upgrade module USB turning port download line download line
Only provide the above information and buy it if you know.We only guarantee that the serial communication is normal, we do not know how to flash, and we do not provide technical support for flashing. If we encounter other difficulties, please go to a professional flashing forum for help.Thanks.
Information download address: http://pan.baidu.com/share/link? Shareid = 4244585970 & uk = 322357029
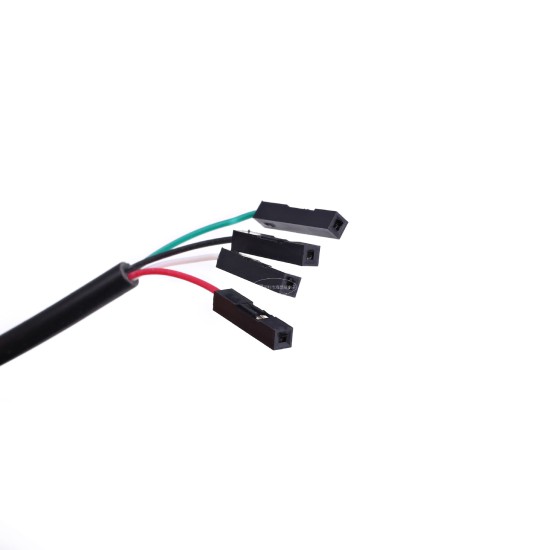
Line order defines red+5V, black GND, white RXD, green TXD
Special explanation
(1) This connection is just selling small boards, a tool.We are not familiar with how to use, so we cannot provide operational guidance.Because there are many models on the market, and everyone's hands -on ability is very different, we do not guarantee that you can succeed.Don't give us a winning or bad review because we fail to succeed, then we are more complained than Dou E!
(2) Each of us sent out is tested. Here we remind buyers to do not directly operate after getting it, so as not to be considered a problem.First of all, make a simple test, the method is very simple: if you insert the line on the computer, the computer prompts "Find the new hardware ...", use a universal meter black pen connection (GND), the red pen to connect (RX) and respectively(TX) can measure the voltage, which means that the small board must be good.It is particularly explained here that if the (GND) is received to the equipment with voltage, power is burned, so the user must accurately measure the needle's pin of the device before the user wiring, so as not to cause unnecessary losses!
Some buyers accidentally burn the chip or not operate or the machine itself does not support upgrading.Such situations do not give returns or refund behaviors, nor do they receive medium and bad reviews.
Note: When setting 3.3V and 5.0V output (this is power supply to the single -chip microcomputer, the upgrades are not used), please pull out the small board from the computer, set the jump line, do not bring the power operation to avoid damaging the device.
Needle and explanation
Before connecting, please find the definition of needle foot, especially GND must not be picked up on the pin with voltage, and the RX and TX side should not be connected to the VCC needle.Be sure to burn the wiring chip, please pay attention, do not take your own small board for experiments, otherwise we will not bear any responsibility.Be sure to find a good needle.
All modules are issued by the factory through dual tests!
Friends who buy this board must have an electronic foundation.At least you must know these things of RX TX GND VCC. If you don't know, please don't buy it. If you buy it, you will not get it.
Don't buy it again if you have no electronic foundation!IntersectionEach module sold by this store is sent out by the owner himself. It is good to keep it. Please do not blindly receive the circuit after receiving the goods. First, understand the wiring and then operate.If you do n’t refund or change, please buyers!IntersectionIntersection
Note that we do not provide upgrade tutorials.Only provide USB to TTL upgrade board and teach you how to wiring.
Some buyers accidentally burn the module or do not operate or the machine itself does not support upgrading.This module does not give a return or refund.
Connection method:
Rx to tx;
TX to RX;
Earth -to -ground (GND to GND)
USB swing port small board function:
1 Simple serial communication.
2 router or ADSL firmware upgrade.
3 GPS serial communication.
4 Hard disk firmware upgrade.
5 Easy to use, RX receives the TX of MCU; TX receives the RX of MCU.And no need to use Max232 to change.
6 Super terminals; commonly used serial debugging tools.
7 Various satellite machine upgrades.
Wait ...
If you do n’t know much about your own machine, you can go to this forum to see. You can find what you want: http://bbs.lcdhome.net/thread-htm-fid -html (forum) (forum)
Module usage
1. Installation driver
2. Restart the computer,
3. Insert the module to the USB interface of the computer, the system will automatically install the driver
4. Connect TXD and RXD (that is, insert a DuPont line on the txd one with one end to RXD), so that the module can be spontaneously collected,
5. Open [serial debugger]
Install the process in the XP system:
First, after downloading the driver, click this icon, start installation, and click the next step until it is completed.
After the installation is correct; you can see the USB-To-Serial COMM PORT (COM3/The USB interface you connect to the USB interface will display different COM ports) at the device manager-port
Second, insert the upgrade small board, the system will automatically load the driver for it.Note: Use DuPont to shorten TXD and RXD to test the module normally.
Modify the following content, operate according to the corresponding prompts, you can test whether the module works normally.
| Product Attributes | |
| Brand | Other/Other |
| Goods number | C27 |
| Model | Other/Other |
| type | Other/Other |
Unlimited Blocks, Tabs or Accordions with any HTML content can be assigned to any individual product or to certain groups of products, like entire categories, brands, products with specific options, attributes, price range, etc. You can indicate any criteria via the advanced product assignment mechanism and only those products matching your criteria will display the modules.
Also, any module can be selectively activated per device (desktop/tablet/phone), customer login status and other criteria. Imagine the possibilities.
$0.84
- Stock: In Stock
- Model: ULGQ1432
- Weight: 0.10kg


